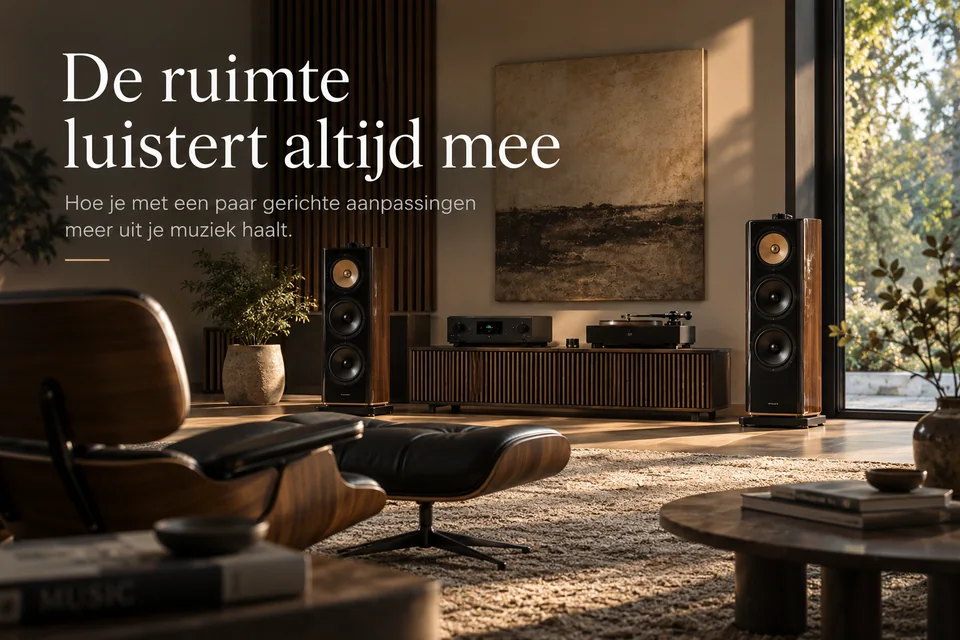
A good audio system can do a lot, but ultimately it’s the room that determines how much of that you actually hear. That may sound like stating the obvious, yet in practice, acoustics are often only taken into account at a late stage. First the speakers, then the amplifier, perhaps some other cables, and only then do you give it another listen.
And yet, a small change to the space can sometimes achieve more than a substantial investment in equipment.
Start with what’s already there
Before you add anything, it’s a good idea to start by looking at the basics. Where are the speakers positioned, how far are they from the rear wall, how much space is there to the side walls, and where are you sitting?
It sounds simple, and it is. That’s precisely where there’s often a lot to be gained.
Try moving a speaker twenty centimetres forwards, turning it in slightly less, or moving your listening chair a little further away from the back wall. Such small changes can have a surprisingly big effect. The bass becomes smoother, vocals are better positioned, and instruments have more space around them. The music seems to come away from the speakers, even though nothing about the system itself has changed.
The space always plays its part
Every room colours sound. Hard floors, glass and bare walls reflect sound, whilst corners can amplify low frequencies and large surfaces can cause sound to linger in the room longer than you’d actually like.
That doesn’t necessarily have to be a problem. A room should feel alive, and a completely soundproofed room often sounds just as unnatural as a room where everything bounces back.
It’s therefore not about maximising sound absorption, but about achieving balance. A rug can make a difference, as can curtains, furniture, a bookcase or a few well-placed acoustic panels. Not to kill the sound, but to bring a bit of calm.
Broadly speaking, there are three types of acoustic measures, each of which does something slightly different: absorption, diffusion and surface treatment.
Absorption removes energy from reflections. This is particularly useful in places where the sound becomes too loud, harsh or restless, for example at the first reflection points on the side walls.
Diffusion works differently. A diffuser does not so much remove the sound as scatter it in different directions. This keeps the room lively, whilst breaking up disruptive, strong reflections. Diffusers are particularly useful when the room is already sufficiently dampened but still sounds a bit flat or too direct.
They are often fitted to the wall behind the listening position, provided there is sufficient distance from the listener. They can also work well on the front wall, between or behind the speakers. It’s best not to place a diffuser too close behind your head; it needs some distance to allow the scattered sound to blend properly with the direct sound.
Bass traps, on the other hand, target the low frequencies. Low frequencies carry a lot of energy and tend to build up easily in corners and along walls. The result can be bass that sounds too heavy on some notes and fades away on others.
Bass traps are therefore usually placed in the corners of the room, often in the vertical corners behind the speakers or in all four corners if there is space for them. The junction between the wall and the ceiling can also be an effective spot. They are particularly useful when the bass continues to rumble or lingers for too long, even after the speaker and listening positions have already been optimised.
An important point to note: bass traps do not resolve every dip in the frequency response. Some dips are caused by the position of the speakers and the listening position and are better remedied by repositioning the speakers than by adding more material.
Where you listen from matters too
One of the most underrated components of an audio system is perhaps the chair. A half-metre difference can make a huge difference, particularly in the bass.
In one spot, the bass might sound heavy and pronounced, whilst just a little further away it suddenly sounds much more natural. That’s why it’s worth not only moving the speakers around, but also adjusting your own position. It costs nothing and can yield surprisingly good results.
Measuring to gain a better understanding
If, after listening and adjusting the speaker positions, you’d like a bit more guidance, you can measure the room. That sounds more complicated than it is. With a simple measurement microphone and free software, you can visualise in a few minutes what’s happening between your speakers, your room and your listening position.
Such a measurement doesn’t necessarily tell you what sounds right or wrong. Think of it primarily as additional information: for example, you might hear that certain bass frequencies are too prominent, and you can then see from the measurement where this is happening. This makes it easier to narrow down your search.
Get started yourself: a simple step-by-step guide
1. Choose a standard reference track. Use a couple of songs that you know inside out. A good reference is Nils Lofgren – ‘Keith Don’t Go’ (Acoustic Live). This recording makes it relatively easy to assess whether the guitar sounds natural, whether the applause and room acoustics are given sufficient space, and whether the vocals and guitar are convincingly positioned between the speakers.
It’s also best to choose a track with a well-recorded, continuous bass line. It’s precisely in the lower frequencies that issues with the soundstage quickly become audible.
2. Start with a logical basic setup. A good starting point is an approximately equilateral triangle: the distance between the two speakers is roughly equal to the distance from each speaker to your listening position. For example, if the speakers are 2.5 metres apart, start with a listening distance of approximately 2.5 metres.
If the room allows, try to position the speakers at least 50 centimetres away from the wall behind them and from the side walls. Larger floor-standing speakers may require more space. When doing so, always measure from the same point, such as the front of the speaker.
Ensure that both speakers are positioned as symmetrically as possible and that the tweeters are roughly at ear level. Treat these distances primarily as a starting point, not as fixed rules.
3. Work from this baseline in small steps. Next, move the speakers in increments of ten to twenty centimetres at a time. Pay particular attention to changes in bass response, focus and depth. Only when the position in the room feels right would I start experimenting with the angulation.
Increasing the angle of inclination often results in sharper focus and a clearer central image. Reducing the angle of inclination can make the stereo image wider and more open. What works best depends heavily on the speakers and the room.
4. Next, find the best listening position. It’s best not to place the chair right up against the back wall, nor exactly halfway along the length of the room. Both positions can exacerbate bass issues.
As an initial experiment, a distance of around 35 to 40 per cent of the room’s length, measured from the wall behind the speakers, is sometimes used. Again, regard this primarily as a starting point. Then move the chair in increments of twenty to thirty centimetres and listen to how the bass changes.
5. Next, look at the room itself. If the sound remains harsh or unsettled, start with the most obvious reflections. A rug between the speakers and the listening position, curtains on large windows, or absorption at the primary reflection points can make a significant difference.
A simple way to find such a reflection point is the mirror method: ask someone to move a mirror along the side wall whilst you’re sitting at the listening position. Wherever you see a loudspeaker in the mirror, there is an important primary reflection point.
If the sound has subsequently become a bit dry or flat, diffusion may be more effective than adding further absorption. A diffuser on the rear wall or, if necessary, between the speakers can help restore a sense of space without creating new harsh reflections.
6. Learn to recognise what’s going wrong. Problems usually make themselves quite clear. A bass that suddenly sounds much louder on certain notes often indicates a room resonance. If, on the other hand, certain low frequencies disappear almost completely, this may be due to a phase cancellation between direct and reflected sound.
If low frequencies linger for a long time, a bass line sounds sluggish, or a single frequency seems to ‘hang’ in the room, a bass trap may be useful. This is particularly true if the problem recurs at multiple listening positions and does not disappear simply by moving the chair or the speakers.
A vocal that is not centred, a stereo image that appears larger on one side, or a recording that becomes noticeably sharp and harsh may indicate asymmetry or strong early reflections. An audible, metallic echo when you clap your hands in an empty or hard-surfaced room is also an indication that too much energy is bouncing back and forth between parallel surfaces.
The interesting thing is that you usually don’t need specialist knowledge for this. Once you know what to look out for, these kinds of characteristics become recognisable quite quickly.
7. Use a measurement as an extra pair of eyes. If you want to understand what you’re hearing better, you don’t need much. A simple USB measurement microphone, such as a UMIK-1, a laptop and the free Room EQ Wizard (REW) programme are all you need to get started.
Place the microphone where your head would normally be, roughly at ear level. REW will then play a short tone through your audio system, ranging from low to high. It might sound a bit strange at first, but a few seconds later a graph will appear showing what’s happening at your listening position.
You don’t need to be able to read the graph in full. To begin with, focus mainly on the low frequencies. If you see large peaks there, this usually means that certain bass notes are being amplified by the room. A deep dip, on the other hand, can explain why a particular note is barely audible.
Next, go back to what you heard whilst listening. If that one bass note is consistently too prominent and you see a clear peak in the graph at roughly the same spot, then you’ve probably found a correlation.
Next, move the chair or the speakers, for example, and take the same measurement again. Place the two graphs side by side. This immediately shows whether a change has made a difference.
REW can also show how long certain tones linger in the room. This is particularly useful when assessing whether bass traps are needed. If you notice that low frequencies clearly persist for longer than the rest of the spectrum, this often confirms what you’d already heard whilst listening.
When it comes to diffusion, measuring is less straightforward. Listening remains important here: if the stereo image becomes more spacious and natural without losing focus, you’re usually on the right track.
So simply start with three questions: where are the biggest anomalies, can I recognise them whilst listening, and what happens if I move or add something?
This way, measuring becomes not an end in itself, but a tool to help you understand more quickly what your ears are already telling you.
Ultimately, it’s all about the music
Good acoustics don’t draw attention to themselves. On the contrary, they fade into the background, so you think less about the room, the speakers or the technology.
Measuring, adjusting and treating the space are not, ultimately, ends in themselves. They are there to ensure that a voice settles naturally into its place, that a double bass doesn’t wander around the room, and that a recording is given the space it deserves.
What remains is music.
And when that happens, there’s really little else needed.
← All articles